Be the first to know — Get Outpost's monthly newsletter for news, tips and job opportunities.
Ideas
Tutorial: How to Create Picard's Cloaking Device
31 August 2022
Create your own Star Trek Cloaking Device simulation with the help of Outpost's FX Artist, Mick Reid
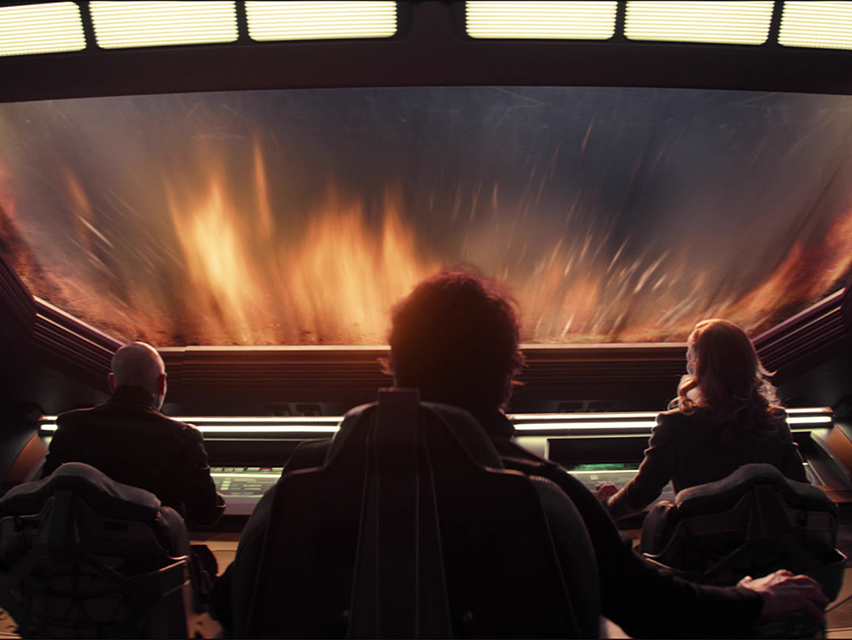
By now, you’ve probably seen some of the work our team did on the ship crash sim for Star Trek: Picard S2, or perhaps the programmable matter FX for Star Trek: Discovery S4, but what if you could learn how to create some archetypal Star Trek VFX at home, with little more than a Nuke license and this article?
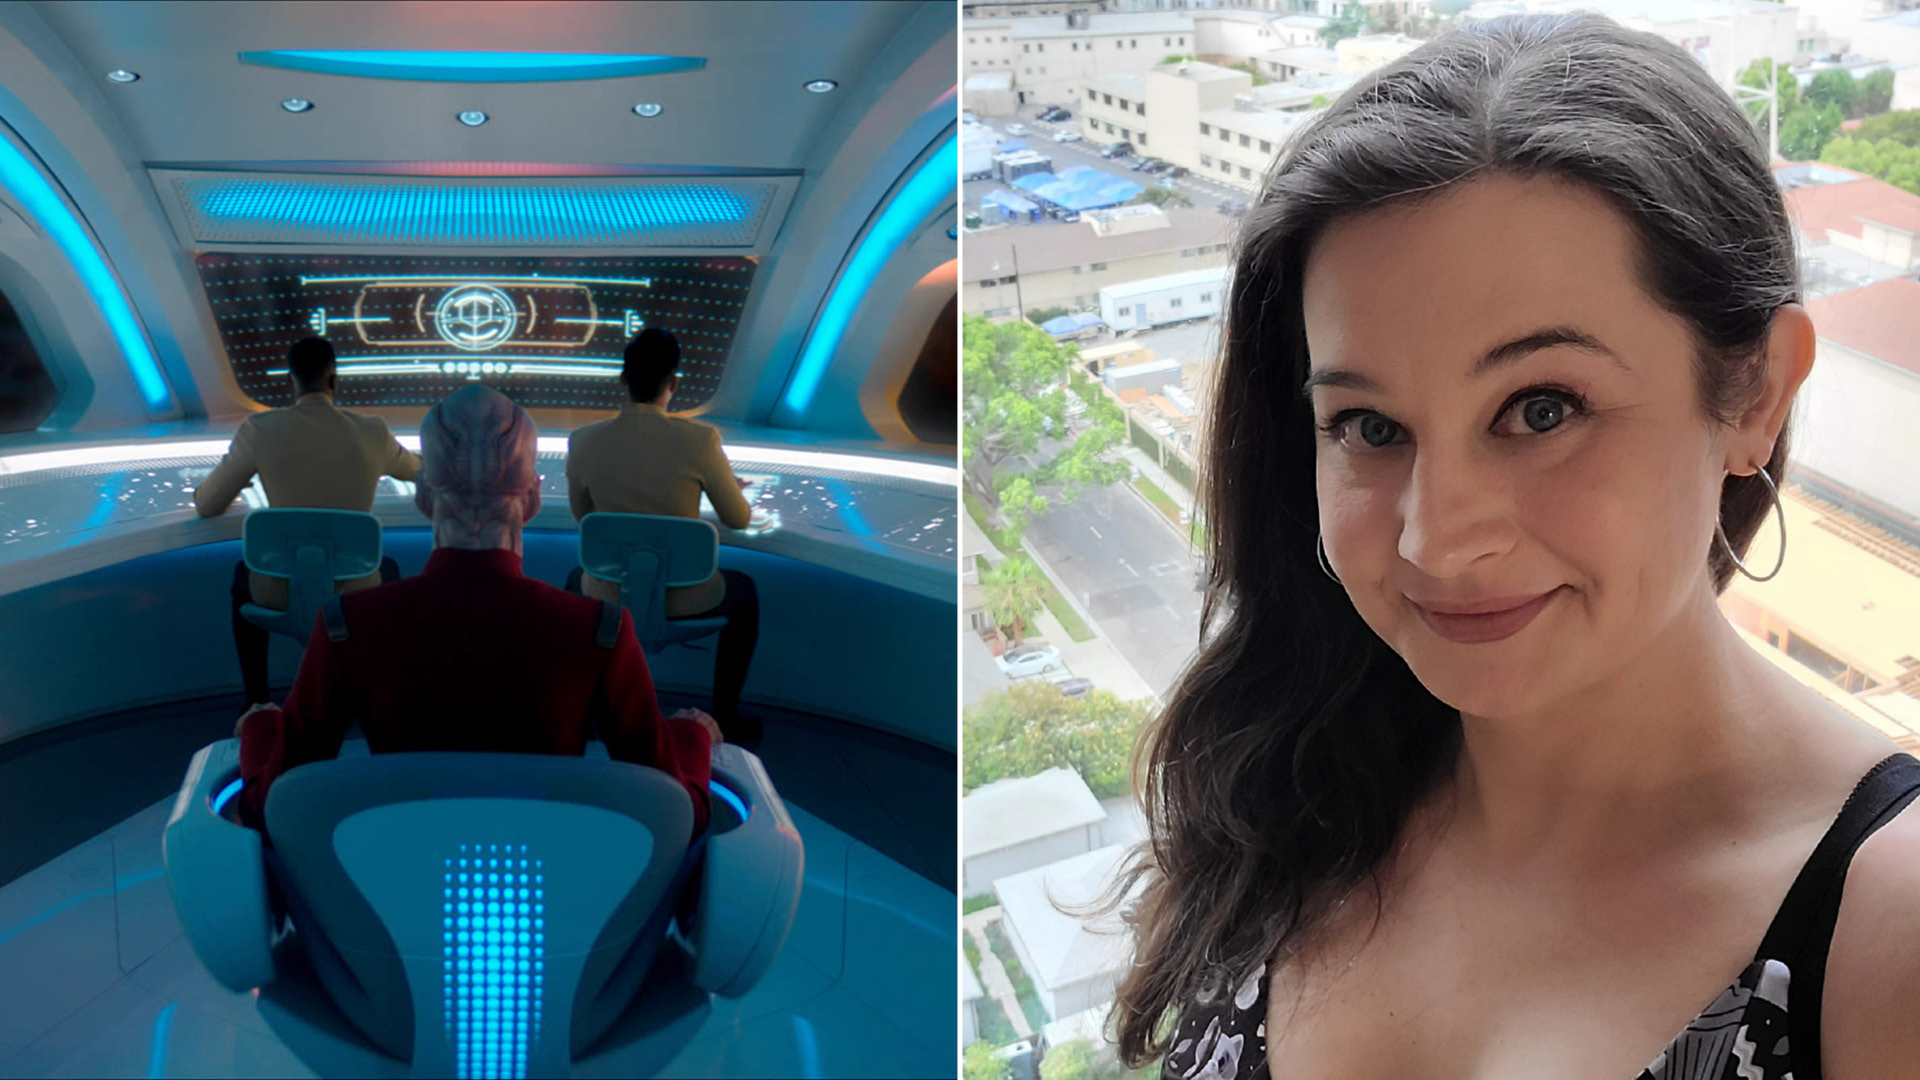
Well, LA-based Outpost FX Artist, Mick Reid, has kindly taken some time out of his busy schedule to help you with just that. Tasked with creating a well-known Star Trek trope, Mick Reid and his team set out to create a cloaking device to hide the La Sirena for Star Trek: Picard S2 after it crashes into Picard’s vineyard in the year 2401.

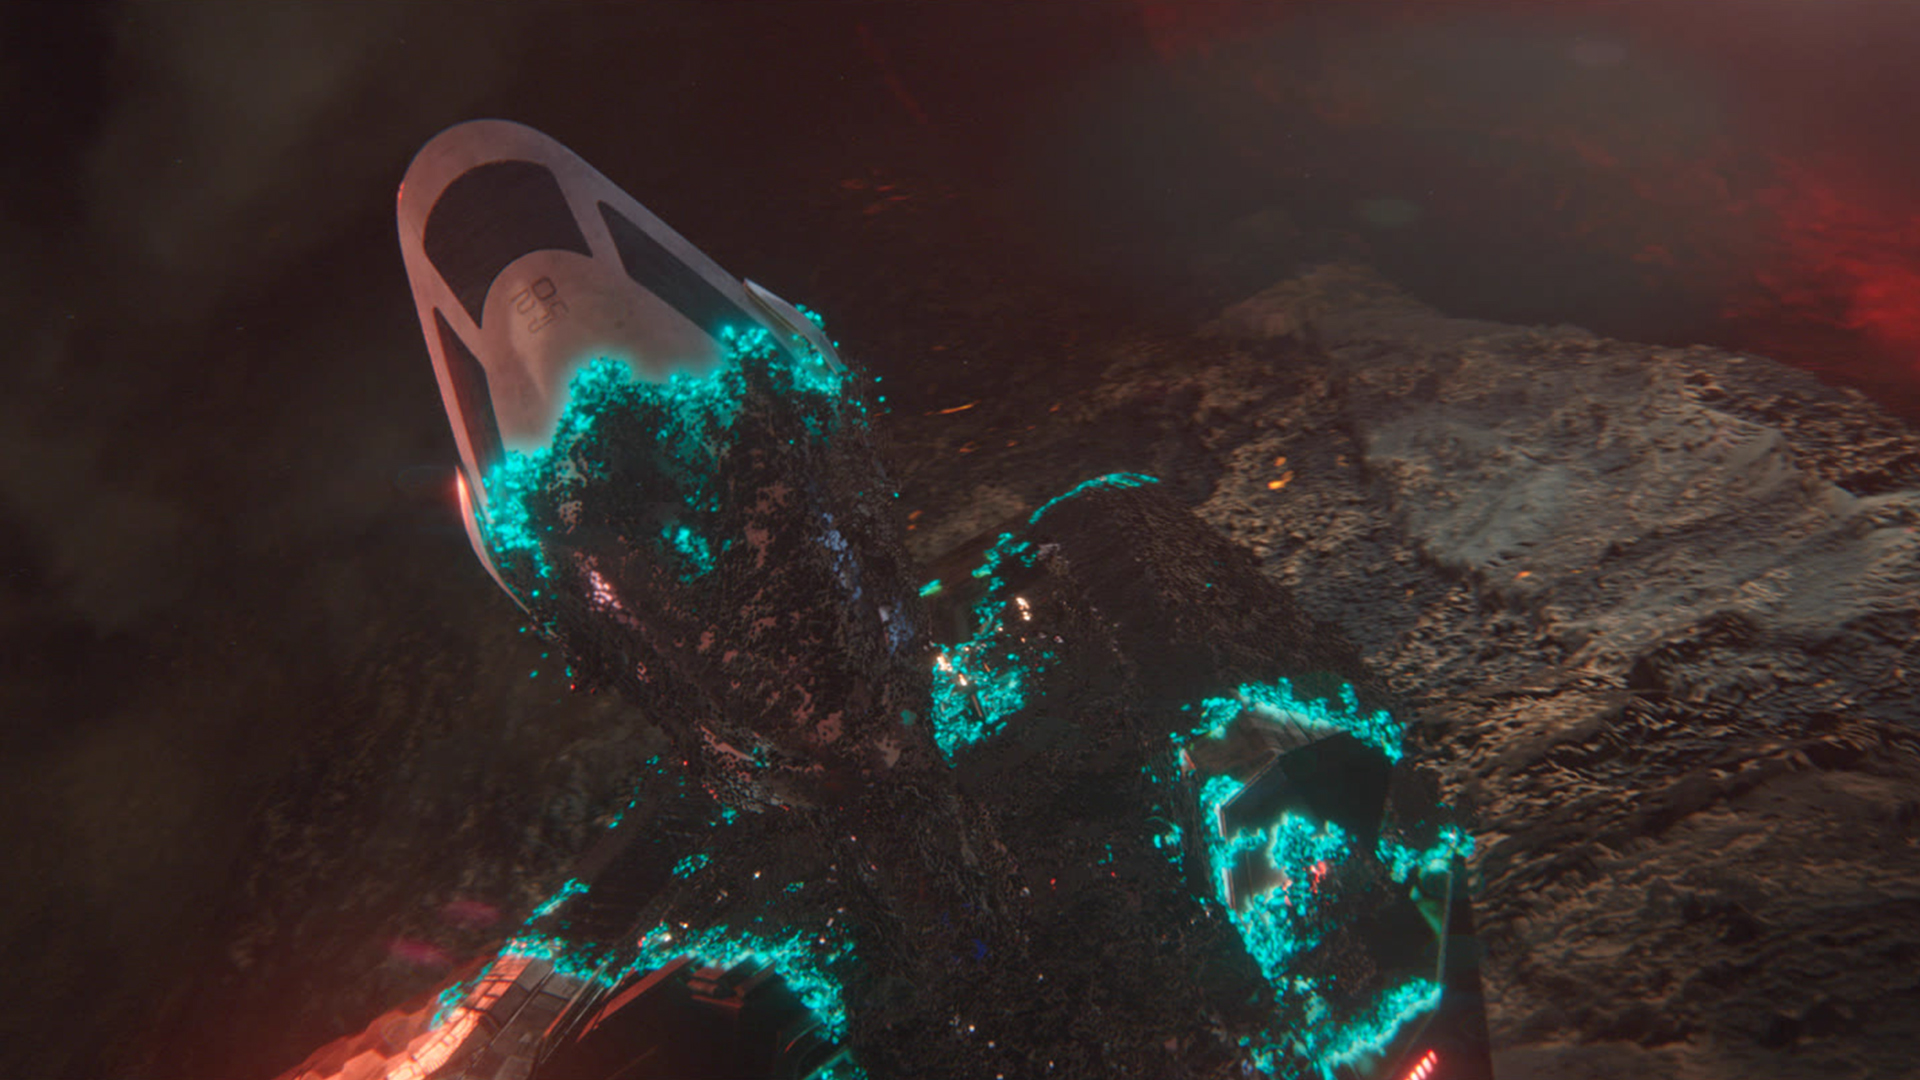
The La Sirena Cloaked by its Invisibility Screen
Also known as an invisibility screen, a cloaking device is a form of stealth technology which manipulates light to completely cloak the affected item, usually a star ship. Given the nature of the technology, our team had their work cut out for them: “It was a really interesting first conversation we had with the client about the cloaking device with the first very obvious challenge being making something that’s meant to be invisible, visible,” explains Reid.
“We needed to cloak the La Sirena, but viewers needed to know that it had been cloaked, so there needed to be some visual cue as to its position. Initially we had early versions that were quite light and the visibility of the ship was very subtle, but the client wanted it to be more visible, and so we made it brighter with more glow,” Reid continues. “In its final form, there’s no denying that you can see the ship, but the simulation over the top of the asset tells us that it’s cloaked.”
Cloaking devices were first introduced in the first season of the original series. Episode 14, Balance of Terror, first introduces the idea of the cloaking device, however we don’t see it in action until later. There are a number of different ways the cloaking happens, either the ships just fade into complete invisibility, or, as seen in Discovery, they seem to dissolve into nothing. “We did take some references from older series, but the invisibility cloak looks dated, because, well, it is, so we wanted to go for something that was a bit more sophisticated and futuristic,” Reid recalls.
Below, Reid lists out the steps that he and the team undertook to create the final simulation that was used in the show. Follow along and create your own simulation in Nuke! If you create something you want to show us, you can share it on socials using the #outposttutorial hashtag!
Create the Star Trek cloaking device simulation
The process of creating the look and feel of the cloaking device was a collaborative effort between teams, but for the purpose of this tutorial, I will create a simpler workflow you can follow to create a similar effect using Nuke.
Step 01: Create a simple geo map over an image of your choice.
In the initial stages of creative development, you’ll want to start with basic geo to help give you more flexibility while you are feeling out the look of your invisibility cloak. This could be a low poly version of your asset, or you can use Nuke primitive geometry to map your textures onto. For this tutorial, we'll use Nuke primitives. To do this hit Tab in the node graph area and type in ‘Cube’.

Step 02: Create a small dot grid texture to tile across your geo.
Make a small dot grid pattern (we used 30 dots across and 30 dots down) and tile this across the basic cube we just made. Your geo should at this point still only be flat planes that make up a super basic shape. You will swap out the basic geo for the final asset later in the process if you have one. (If you go this route, keep in mind the final asset will need proper UVs laid out).
To create a dot grid pattern, do the following:
Create a roto node and set the format to square_256.
Select the ellipse tool, and while holding ctrl+shift, click and left mouse drag in the viewer to create a circle. This will be our base dot.
Next, we need repeat this dot over a few times. You can use a series of transforms and merges, or simply use the tile node. If using the tile node, create a Refomat node after the Roto node, set it to square_2k and then create a tile node after that. You can then increase the tile node 'rows' and 'columns' settings to set the density of the tiling. Once you've done that, we now have a 2k resolution dot texture.


Step 03: Create various animated noise patterns to overlay on your dot grid.
Add variation with animated noise patterns, playing with the scale to adjust the size of the noise and help control brightness / darkness, and glow. To do this you can:
Create a Noise node and plug that into a square_2k reformat. We need to make sure we keep our formats the same for the texture we're creating.
Next, create a Multiply node and drop that in after the tile. We'll use this to add our first layer of brightness variation. Then plug the texture into your cube and you can start to see how everything looks.
When we were working on the La Sirena, we found that using really big noise would create slow and undulating patterns, while really small, tighter noise would give more of a flickering effect.
We animated these noise patterns on the Z value and also animated a merge node on/off node quickly to give it the appearance of flickering.


Step 04: Play around with the settings for your desired effect.
A quick hack to make anything look more sci-fi is to add a glow. You can do this by heading over to the filter tab and selecting the glow filter node. From here you can play with the tolerance, brightness, and saturation to get your desired effect. This will also blur the hard edges of your asset which will help with the overall invisible effect. In this node, you can also change the tint of the glow, which we gave a blue-ish tone.
Next, we added some chromatic aberration by dropping in three shuffle nodes and inputting them into your dot grid texture, change one shuffle node to your Red channels by turning green and blue to black. And the other to your Blue channel by turning red and green to black. Now merge these together with a plus mode. Next, transform a couple of the channels by changing the scale. Subtlety with chromatic aberration is key here, anything too over the top may create an odd effect.


Step 05: Upgrade your basic geo with more complex, final ready geo.
If you have some low-poly geo of your own, you can update/replace the cube we made earlier. This will probably mean you'll have to go back and refine some of the settings.
Step 06: Introduce your camouflaged object into your moving image sequence.
If you have an image sequence, you can now import your ‘invisible’ object in your environment and admire your handywork. Here you can make the last couple of changes to really finesse the overall look and to ensure that the asset looks as if it belongs in the sequence by looking at how it is reacting to light and the surrounding environment. Try adding some distortion behind the object, as if it’s bending the light of what we can see through to the other side.
And that’s it; you have now applied a Star Trek cloaking device to your asset! Let us know on socials how you did, don’t forget to use the hashtag #outposttutorial.