Be the first to know — Get Outpost's monthly newsletter for news, tips and job opportunities.
Ideas
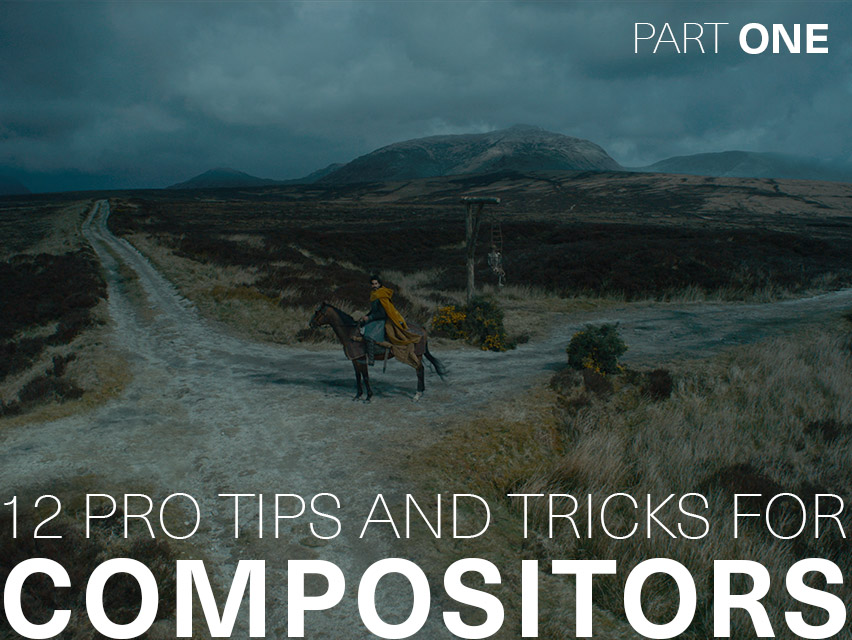
22 Pro Tips and Tricks for Environment Artists
9 March 2022
Our seasoned Environment and 3D Artists provide us with the tips and tricks they've picked up along their way
We reached out to some of our seasoned environment artists to ask them for the tips and tricks they felt were instrumental in helping them improve their work and learn faster; tips that many artists spent a lot of their VFX career finessing.
Thanks to Environment Leads Hope Brackin, Amy Taylor, Anissa Senoussi and Maeve Eydmann, 3D Artist Cedric Quach and Senior Environment Artist Chris Hunt for these excellent tips and tricks!
01. Study your brief or concept and discuss workflows in advance.
Study your brief well. By carefully checking the requirements of a given brief you can save a lot of time and effort by deciding early what can be achieved utilising different techniques.
Optimising your workflow at this stage can save a lot of time and make dealing with changes later far easier. For example, refining a sculpt to a high level of detail may not be necessary if much of that fine detail can be added at the texture stage.
Equally, if an element isn’t a hero element or too close to camera, its detailing can often be baked down to a normal mapping, saving render-times and resources.
Making changes at a textural level is far quicker than redefining a sculpt. If texturing isn't part of your brief, make sure to coordinate with the artist who will be picking up your work and try to agree a plan.
02. When you know what you’re doing, think about how you’ll do it.
Once you’ve been briefed and have a good idea of what’s required from you, now is the time to work out your approach. For assets, that might be deciding whether you need to model, sculpt, and texture something from scratch or whether you can start with something from a library like Megascans and adapt it to your needs. Can you use procedural tools to speed up the generation of complex or repeating elements?
For a shot, you want to start by considering what you’ll actually see. For example, if you’re tasked with creating a forested landscape, do you need to scatter 3D trees all the way to the horizon or is there a point where you can take over with matte painting to save on render time? Do the trees need to be high resolution trees from something like SpeedTree or can you use lower resolution trees with good materials for the same effect?
03. Understand how your environment is going to be used.
You should always be conscious of how the environment will be used in its final form. For example, will there be characters in it? If so, should the environment complement them and not take away from the storyline? Or will there be epic shots that take the breath away and where we need to immerse the viewer? Understanding this will help you create better foundations for your environment which you can then build upon.
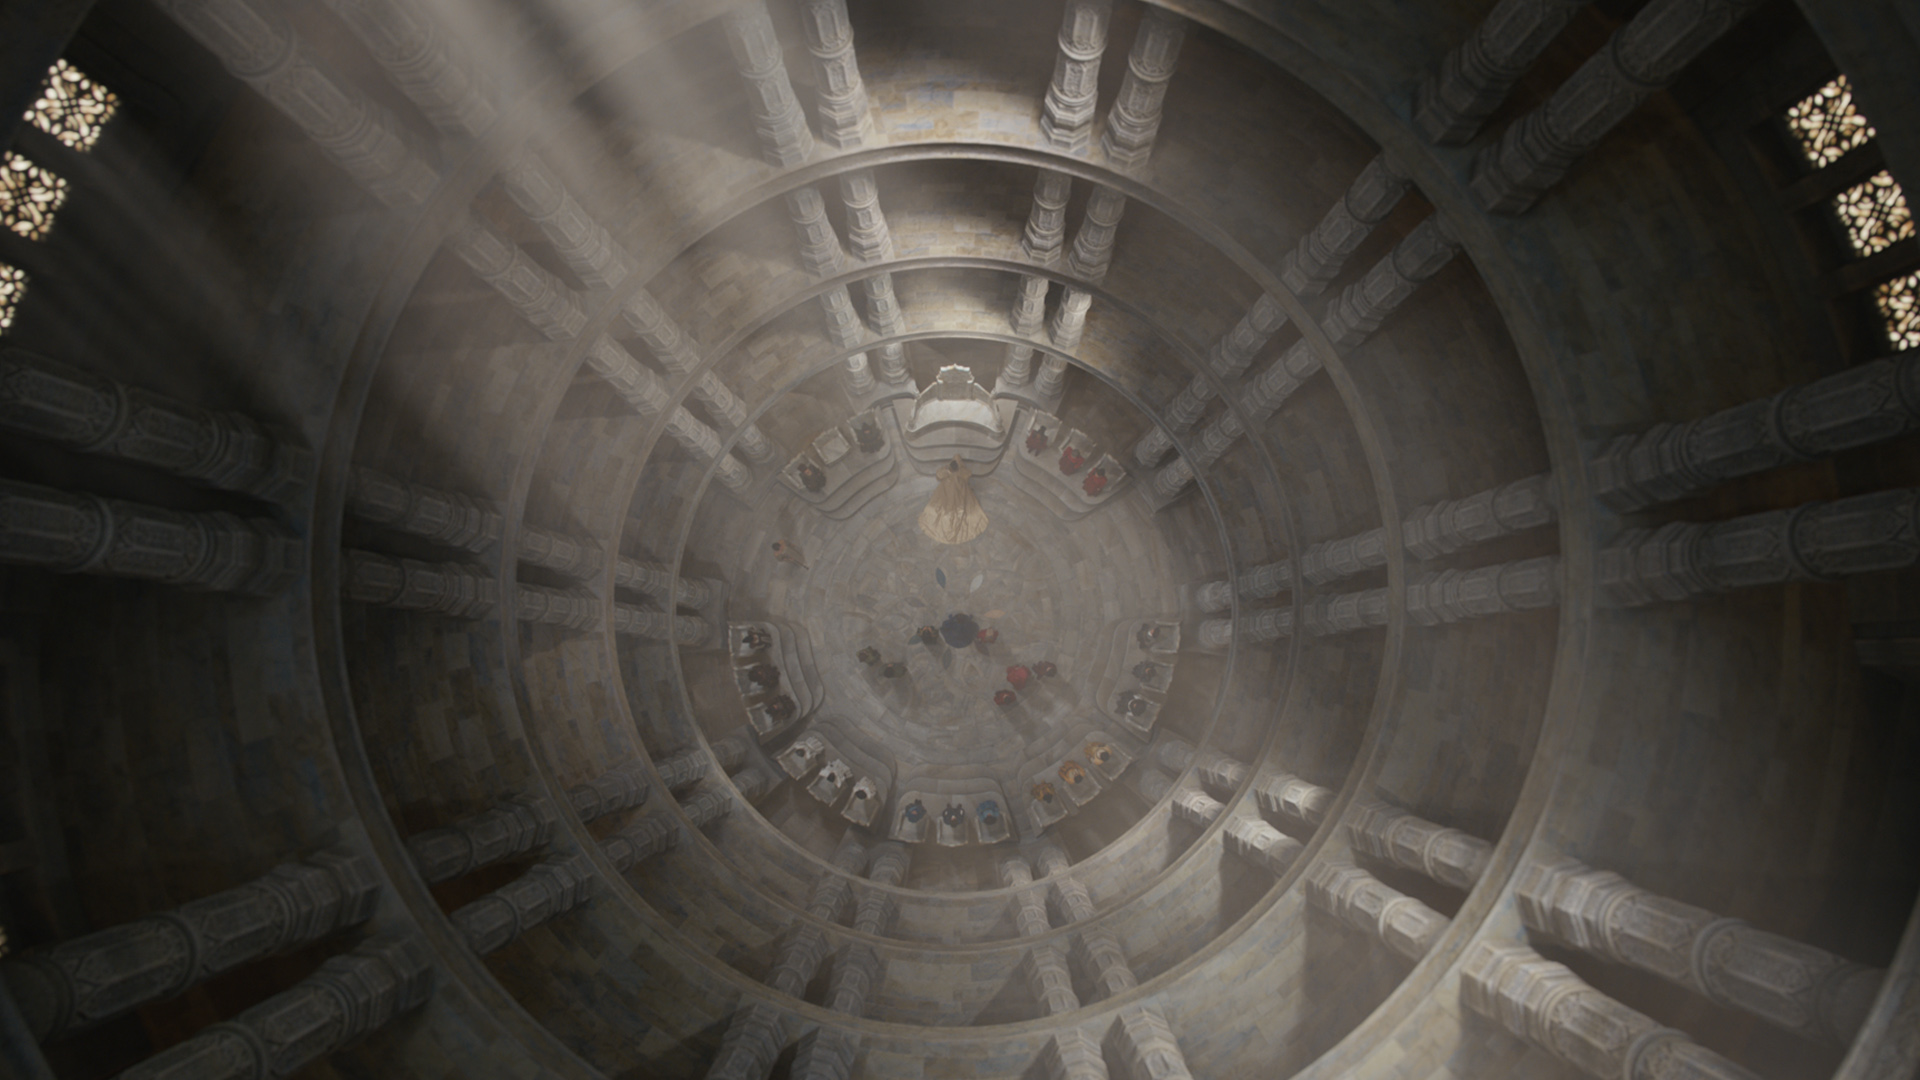
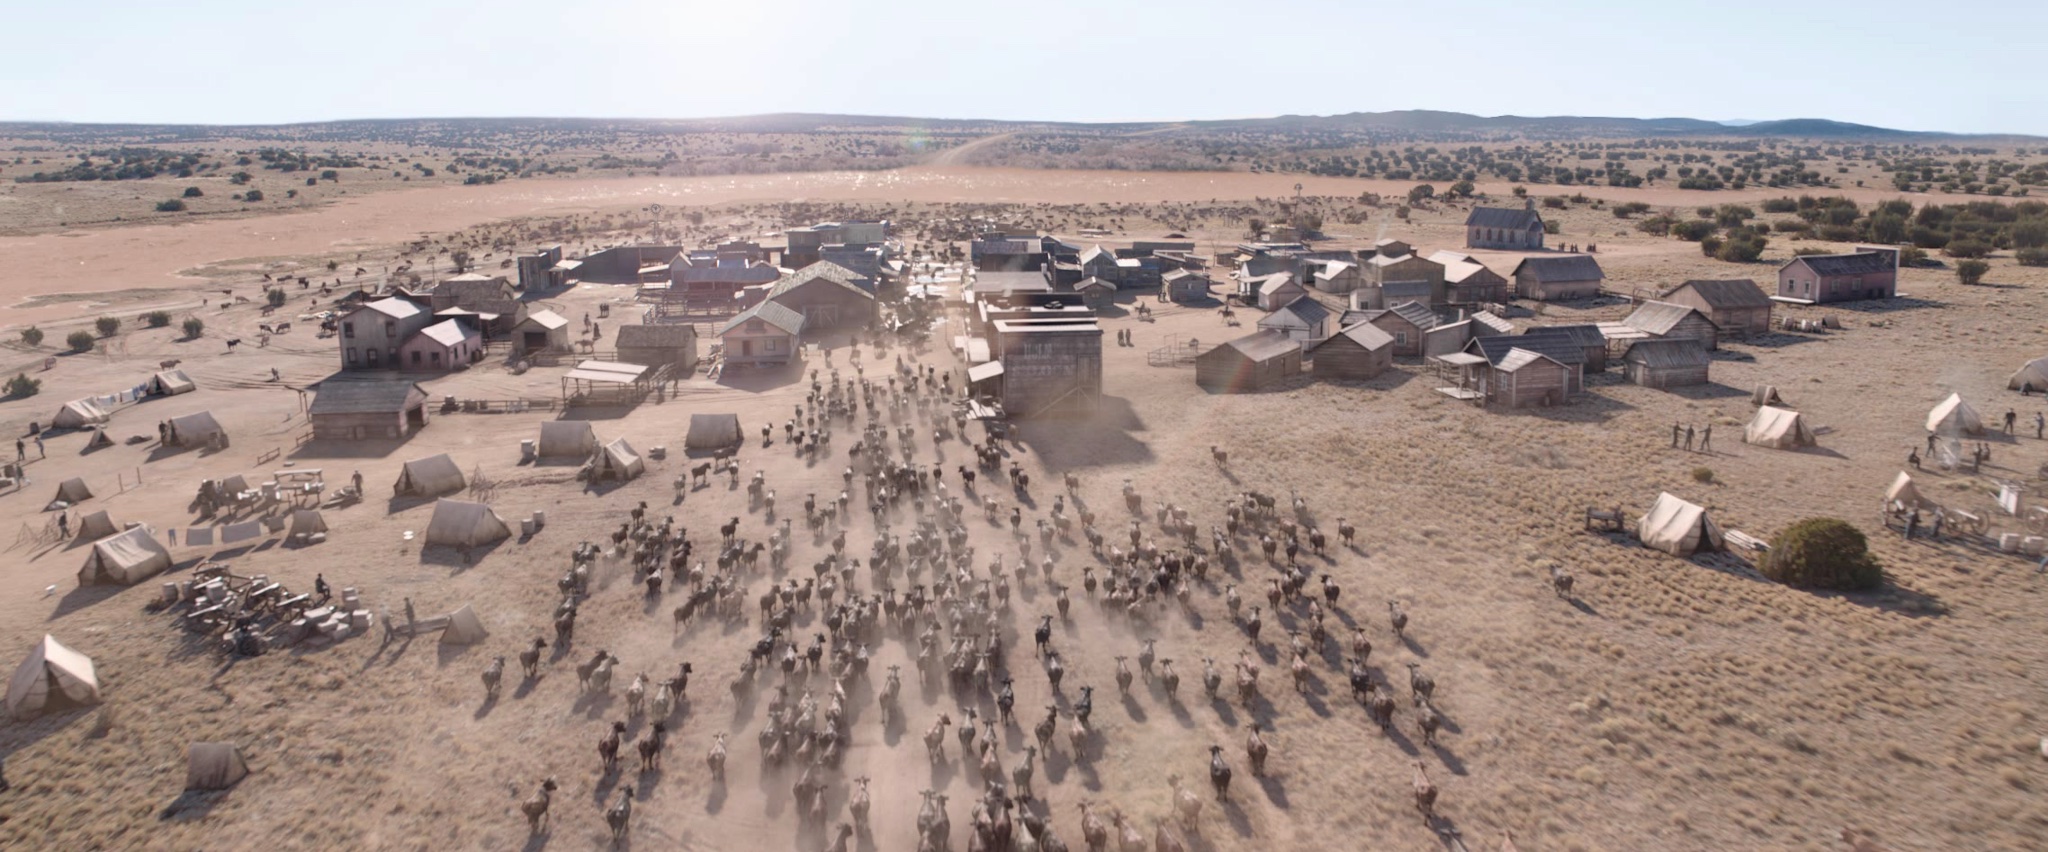
The Wheel of Time (Amazon)
04. Think about the story, history, and the creation of your environment.
The best environment artists will always develop a good understanding of the history of the environments they are making. Questions to ask yourself include: where in the world is your environment? What geographical elements would come into play? How often is it fully in the sun? Is it on a high elevation? Is it completely man-made? Is it on this planet / under water / desert / valley? All of this will give you information on how to build it and what elements will go well with one another.
For example, imagine you’re working on an elevated valley surrounded by mountain peaks. You should be asking yourself: what type of vegetation would grow here? How tall would the vegetation be, if there is any? Is it populated? Are the plants here only growing on the side which gets sun, or are there shade-loving plants? Can animals get there? Will there be tracks if there is snow? How do the rocks form? Is there ice, snow, or glaciers?
When you consider all of these questions, you set yourself up to create environments that integrate well into the story. It’s good to stay inspired by nature and spend a lot of time outside to build your mental library and knowledge for environments like these.
05. Start with reference.
Start with reference imagery but do not gather it blindly or try to match it one to one. By now you should have a clear goal of how the environment is supposed to look and feel, and its role within the story. If you are not completely sure at this point, ask for the brief again, as well as all possible references from the client. This could be thumbnails, previz, sketches, concept art etc.
06. Block out your big shapes first.
Always start by blocking out the biggest shapes and working towards the smaller details. If you have characters in shot, bring in a character scale reference as early as possible and you can bring in any shot cameras that are ready.
If you only have one or two shots in an environment, you can work to the camera frame, there’s no point building a huge scene when only a little slice of it is going to be seen through the camera. If you find the grey of the viewport makes it difficult to judge a space, throw a sun and sky into your scene and do a quick render.
This is a good time to reflect on the decisions that were made in the previous stage. Now that you have blocked things out, will you change anything about the approach? It’s much easier to throw out something you’ve only spent an hour on than something that took a week.
07. Make use of all the tools at your disposal.
For the most part, default brushes and alphas in Zbrush are great for a lot of work, but when you receive a brief that also includes LIDAR data, it’s a good idea to sample that surface and generate a set of brushes that make integrating any additional elements far quicker than trying to replicate by hand.
You can also use texturing apps to define areas or procedural patterns that can be ported back to Zbrush and used for masking and quickly generating definition. Cross workflows between applications with differing toolsets can sometimes yield much faster results than trying to achieve everything in just one.
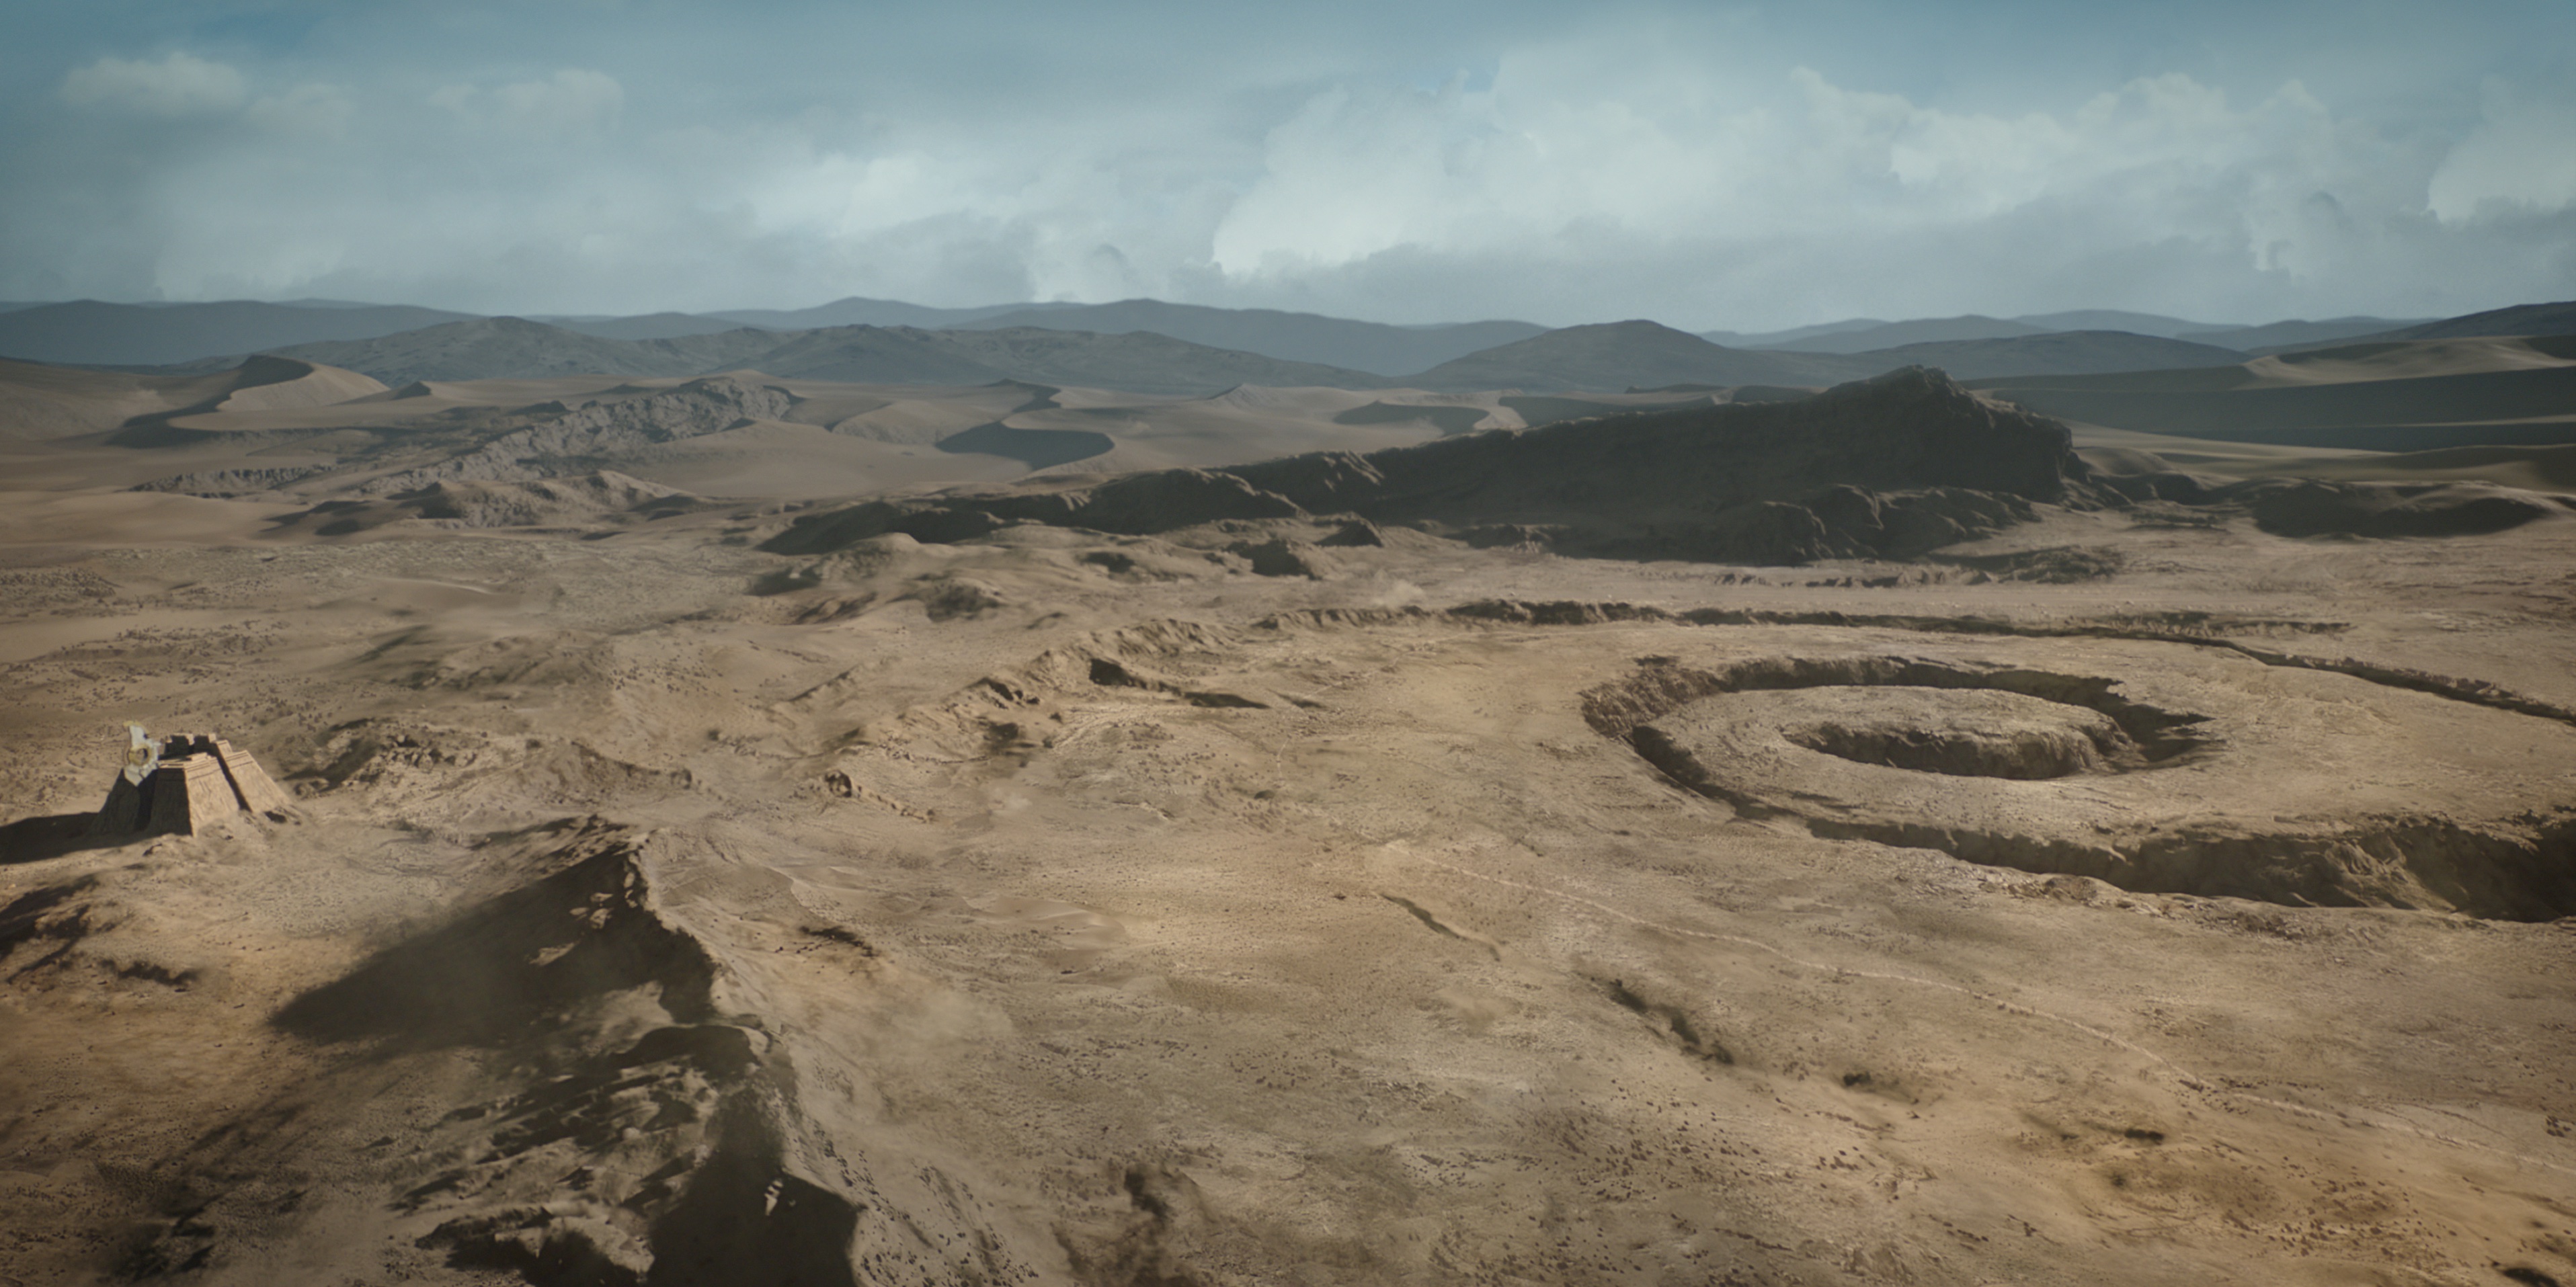
News of the World (Universal)
08. Reality is wonky – don’t create perfect environments.
So you’ve built your environment and you’re nearly ready to say it’s done, but there’s still something that’s not quite right about it. It’s a bit too… perfect. Reality is full of organic variations on everything. Size, position, rotation, damage, variations in the amount of wear and dirt.
Think of a simple airport corridor. When the polished granite tiles were first laid they were all perfect and uniform. Then 5,000 people walked on them every day for 10 years. That’s going to have some effect. The most walked-on parts in the centre of the corridor are going to be more worn than the edges. The edges are going to be a bit dirtier where the cleaners have missed bits. A single tile may have been lifted at some point for a repair and when it was replaced it wasn’t laid perfectly flat.
Pay close attention to the effects of wear on different surfaces and check real life or photo references wherever possible. Some surfaces become more polished (like stone), some rougher (like varnished wood), depending on the material. There may be evidence of repair or decay.
A good later stage pass on your environment is adding in the little variations. A dirt, dust, and damage pass on some textures, breaking up overly clean edges in your modelling. If you have scattered instances in your scene, make sure you’re adding in some variation in the transforms. Most renderers will have a shader node that will generate a random colour or value per object or instance (ai_utility in Arnold, multisubtex in V-Ray). This can be merged over any of the inputs to your shader and instantly all your objects are unique!
Most of the effects mentioned are very subtle - if they attract attention, you've probably overdone it and risk making something that looks cartoonish, but if used thoughtfully they will add up to making a much more natural and real environment.
09. Keep in mind the subtle elements at play.
Environments are not a random mix of rocks, plants, buildings etc. Each environment is made up of much more than this, and there are key elements to remember that will make each environment unique.
These include:
Space – the absence of stuff: the play between the negative and positive space is important. Unless you want to make the viewer feel claustrophobic on purpose.
Lighting: possibly your best friend when trying to describe the environment and set the mood.
Depth: think about the complexity of all the layers foreground to background. How many layers should there be? Each layer should have an exact purpose to be there. If not, you do not need it.
10. When using Zbrush, don’t rely too heavily on the viewport.
Zbrush is a great tool for environment artists, and one that is used often. However, its biggest failing has always been the lack of an accurate camera in the viewport. This makes it really important to regularly check any work against the actual camera, and if you don’t have one, then approximate it. Developing and refining a design only to find out that it doesn’t work for a shot can be painful.
That said, don’t exclusively focus on where your cameras are. The environment should be well-balanced from all angles. This ensures that if you get a new camera tomorrow (and you will), your environment will look just as good.
11. Don’t fear the UVs!
For modelling, a good polygon flow and optimisation are obvious, but do not neglect the UVs! Everybody hates and fears the UVs, but there is nothing more horrible for the artist who's texturing a model to find out that the UVs are bad (like a simple atlas unwrap) or not even done. To make the process as least painful as possible, unwrap each mesh once it's done right away so that if you have to duplicate it you won't have to do the work twice. And in the end, all that will be left is a bit of tweak and making a UV layout that makes sense (classify the UDIMs per materials for example).
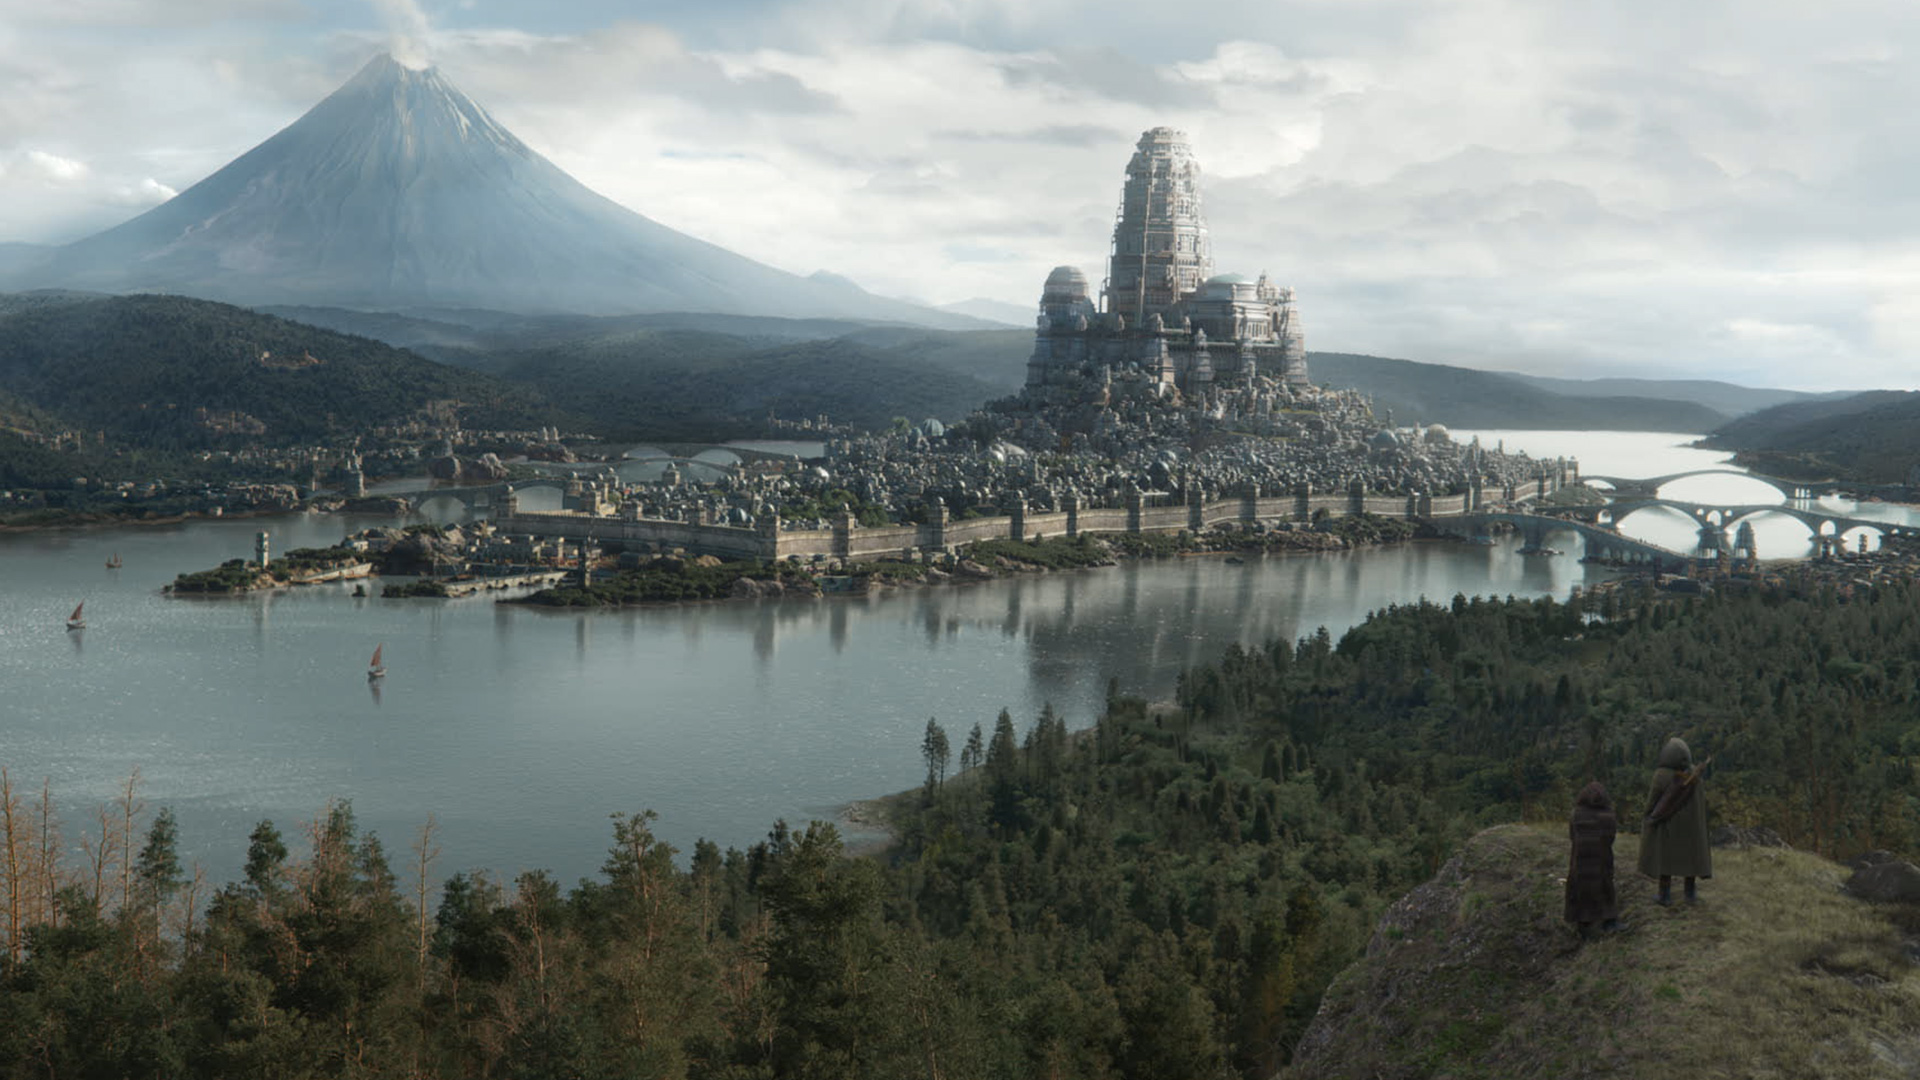
Foundation (Apple TV+)
12. Make friends with the software.
Keep track of the software, plug-ins, and workflow updates that are out there, and be sure to check regularly; they change and update so quickly. Environments can quickly become extremely complex and large so it’s good to know how best to optimise your workflow and which software or tools are best for the job.
Some software, like Clarisse for example, is very good in handling heavy geo and scatters. However, Houdini might be better for quick terrain and scatter iterations.
If you need to create fast and beautiful presentations, Unreal will most likely work best for you.
Keep in mind that your environment can be the most accurate and perfect environment, but if you are presenting it wrong (lighting, anti-aliasing, camera angles etc.), you will not convince everyone to go with it.
Don’t be scared to switch software to software or to jump into a new one. Each one is your tool that can help you be most efficient and create beautiful environments. Use all of them to your advantage and keep yourself informed of any advances in the software.
13. Ask!
When making an environment, remember to ask for your colleagues’ opinion and help, especially if you find yourself looking at your environment for too long and you feel something isn’t right.
Also, if you are working with an artist who makes something you are really impressed with and would like to know how they did it, just ask! Get into the habit of asking questions and you will learn so much faster.
On the importance of asking questions, our Environment Lead artist, Hope Brackin, says: “I cannot imagine where I would be without the extremely talented and amazing artists that I had a great chance to work with. An artist is always curious, inspired and we continuously grow and evolve. It is one of the most amazing things about being an artist.”
14. Communicate clearly with your team.
Skills are important, but communication is an absolute necessity, working in VFX or Animation or Game will always imply that you are going to work closely with somebody. So you have to communicate your ideas, your doubts, and whatever else is relevant for the good continuity of the project you're working on. Even if you feel a little bit silly for asking, it's OK… Better be a fool for a minute than for all your life!
15. For procedural texturing, use Substance Painter.
Since environment artists are not concerned by creature work, we can afford to have a more procedural approach to texturing. This means the less brush strokes, the better. Substance Painter is one of the best solutions for this, as it has a baking maps tool that is really useful.
The Wheel of Time (Amazon)
16. Present your work well.
You'll probably not be expected to deliver final composites, but it's important to present your work in a way that reflects how it's going to be used. This stage lets supervisors properly review your work in context but also lets you test that the assets or shot renders you are delivering are working properly.
For assets, a turntable with the lights fixed and the object rotating is a good start, a second with the object static and the lights rotating is also good to demonstrate the materials (components like specular fresnel will look quite different depending on the angle of the light for example). If the asset will be used in a very particular setup (shot HDRI, night, sunset for example) an extra turntable with an approximation of that specific lighting is a nice bonus.
Having examples of some of the references you may have used while preparing the asset alongside the turntable renders helps as it's easy to see how close you managed to get to the intended result. If your asset has user adjustable elements, like flashing lights or moving parts, make sure to show those in a couple of configurations. It doesn't need to be fancy animation, just enough to demonstrate that it works.
If you're presenting shot work, it helps to prepare a slapcomp. Layer up your renders, making sure that you have all the AOVs and mattes you thought you'd rendered. Try to anticipate everything that will be done with your renders and attempt to build as close to final an environment comp as possible. The closer to final you can get your comp, the less that supervisors have to use their imagination and try to second guess what you intend.
If you can't build the comp you want, it probably means that you've missed something out or that there’s something in the setup that isn't quite right. If your shot has a plate do a quick key (a rough primatte or keylight is normally enough) and add in any other cg renders for the shot that are ready.
17. Optimise your workflow with these quick processes.
Delete all alpha masks you don't use in your Photoshop document; they weigh down your document for nothing. Just use the amount of overscan needed in both your projection setups and in your scanline render pre-comps renders – usually 20% is enough.
When doing multi projections and rendering out several precomps for comp, either clone your first scanline render (alt + K) or create a noOp node to control all scanline render. This way you just deal with one single node instead of thinking about changing your parameters on 10 different scanlines when rendering your precomps.
When asked to do touchups on a complex geo, think about using the models' UV pass in Nuke instead of going classic cam project setup. You will save a huge amount of time, and the quality and resolution of your touchups will be better this way - rather than using a perspective transform in Photoshop, which will inevitably damage your element's quality.
18. Set up groups and subgroups for your scene.
When first creating your scene, group your set into larger sections – think broad strokes. Depending on your environment, it could be separated into different levels, i.e., top / middle / bottom, or by mountains / water / land / castle, or by streets / buildings / city props, or even by rooms. Once you’ve organised your set into groups, you can optimise the speed and weight of your scene.
Within these, set up subgroups for each larger groups you have just made, such as trees / bushes / debris, or windows / lamps / signs. The aim is to see what is replicable, or repeatable so you only have to model one piece which you can then populate and add variation too later with Houdini or modelling.
For example, from your subgroup of trees you will have:
propAppleTreeA
propPineTreeA
propFigTreeA
Within those you may then also have variant models and it would become: propAppleTreeB which has far less leaves and branches and a different trunk.
This becomes your world scene and you can then start to think about laying things out and set dressing. Starting with your main mini set groups. Then see if your subgroups can be used for scatter tools. Trees, debris, twigs, rocks, etc.
19. Check reference images before you convert to smart objects with alphas.
When using photos, keep the reference images you’re testing your composition as smart objects. If you put them into the PSD file you’re creating with a very rough alpha, you can check to see if they have the right angle, right lighting, etc. If you’re lucky and it does, double click the smart object to create a proper alpha that you can then save and rasterize in your comp. That way, you’re not wasting time cutting precise alphas for images that don’t make it into the scene.
20. Create trees directly in Photoshop.
Not many artists know this, but you can create trees directly in Photoshop. You can change the look, amount of leaves, type of tree and move around the lighting. It won’t be good enough for a close up, but if you need to populate a background quickly, it can come in very handy! Go to filter > render > tree.
21. Connect random nodes to your standard surface with Houdini’s procedural shader.
When using a procedural shader in Houdini, use a random node when importing an attribute at shader level before connecting to the standard surface. This allows you to have a seed on the attribute that you can change if needed. The random node also allows you to switch between greyscale and colour.
22. Try not to take anything too personally.
Sometimes you’ll arrive at work to find that shots you’ve worked on have been cut from the project. Don’t see that as a reflection of the quality of your work, this generally has nothing to do with the decision to cut. More often than not this happens because of a story or editorial change - the shot wasn’t serving the story so had to go.
Quickfire tips:
If you want to keep your reference visible in Houdini while working on your scene, you can pin your image refs in your network editor: add > background image.
If your projection in Nuke looks a bit too flat, don't hesitate to throw a displacement in Nuke – it takes literally 5 minutes to setup and it makes a world of difference.
Whatever you do, keep your scenes clean and organized as much as possible. Your colleagues will thank you for that.
Have fun! No matter the environment's nature, size or time in history or what planet – enjoy and have fun telling its story and then do your best to get that same feeling passed on to the viewer.