Be the first to know — Get Outpost's monthly newsletter for news, tips and job opportunities.
Ideas
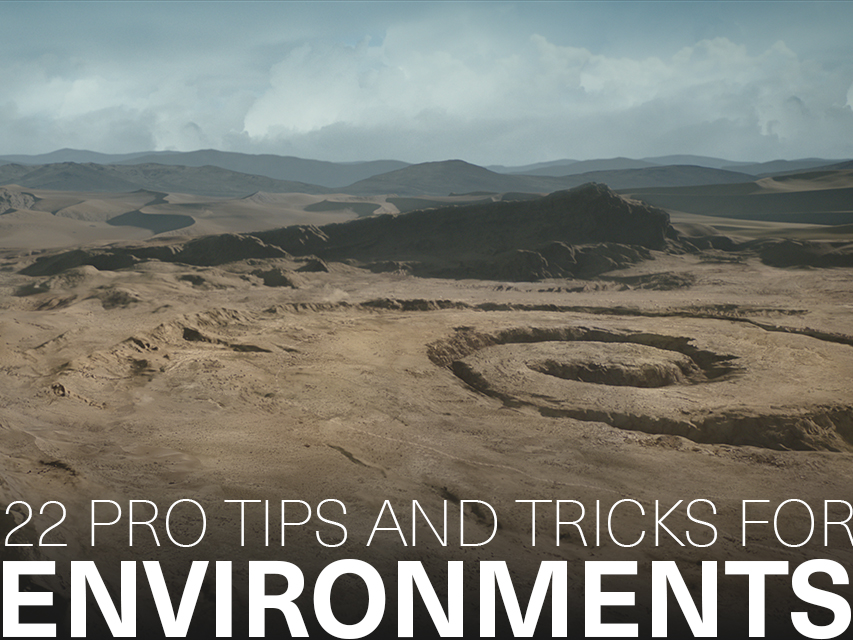
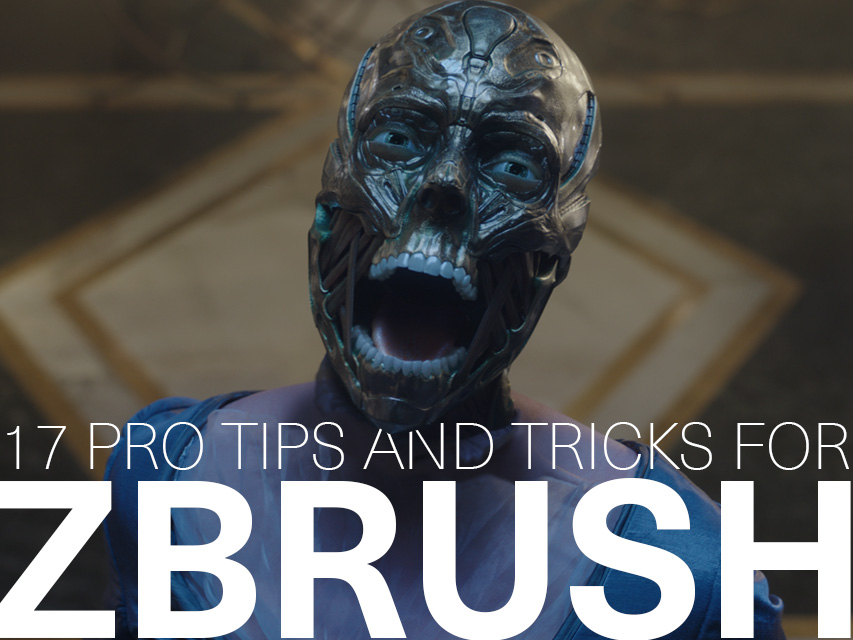
17 Pro Tips and Tricks for ZBrush
16 June 2022
Essential ZBrush tips from our 3D teams around the world
Our 3D crew have developed all sorts of amazing ZBrush tricks while working on shows like House of the Dragon and The Man Who Fell to Earth, so we thought we’d coax out the best tips and share them with other artists and aspiring artists alike.
A huge thanks to Senior 3D Generalist Alex Falcon, Environment Artist Borja Gonzalez, and Junior CG Artist Christian Wells.
1. Don't dive into details too quickly
ZBrush can handle an incredible number of polygons with ease. This makes it very tempting to add a few subdivisions and start sculpting small details right away, but small details make it more of a challenge to fix larger problems.
Start by refining the larger forms before creating the smaller shapes and constantly check the silhouette. Back up your camera every now and then and make sure everything is to your liking. Look for your primary shapes first before starting on secondary and feel confident in your primary shapes before you even consider starting tertiary.
2. Alphas are your friend
The ability to stamp down details anywhere on your model based on a black and white image is incredibly helpful. Alpha materials can be used for both hard surface and organic detailing and there are many to be found online.
ZBrush gives you the option to create your own alphas. Sculpt a couple versions of what you want to create, have ZBrush capture it in a 2D image, then scatter them all over your model. Alternatively, open a 2D image package like Photoshop and paint your own.
3. Making the most of the brushes in ZBrush
When using ZBrush, it’s likely you’ll get used to using the same five or so brushes, which is fine. But there are loads of brushes in ZBrush ideal for specific uses which can be found in the ZBrush Lightbox.
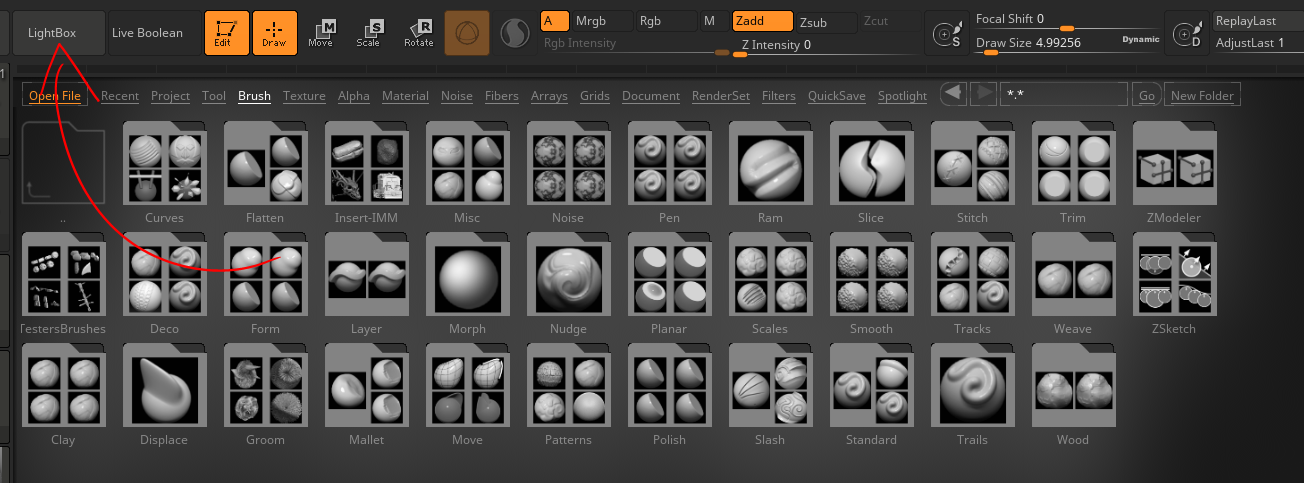
You'll find lots of brushes in ZBrush Lightbox
The 'trimSmoothBorder' brush is like the 'trimDynamic' brush but gives really nice planar strokes, which is very handy for hard organic shapes like rocks and mountainous areas. It’s a very quick way of blocking out rocky surfaces with little effort before building up details however you see fit.
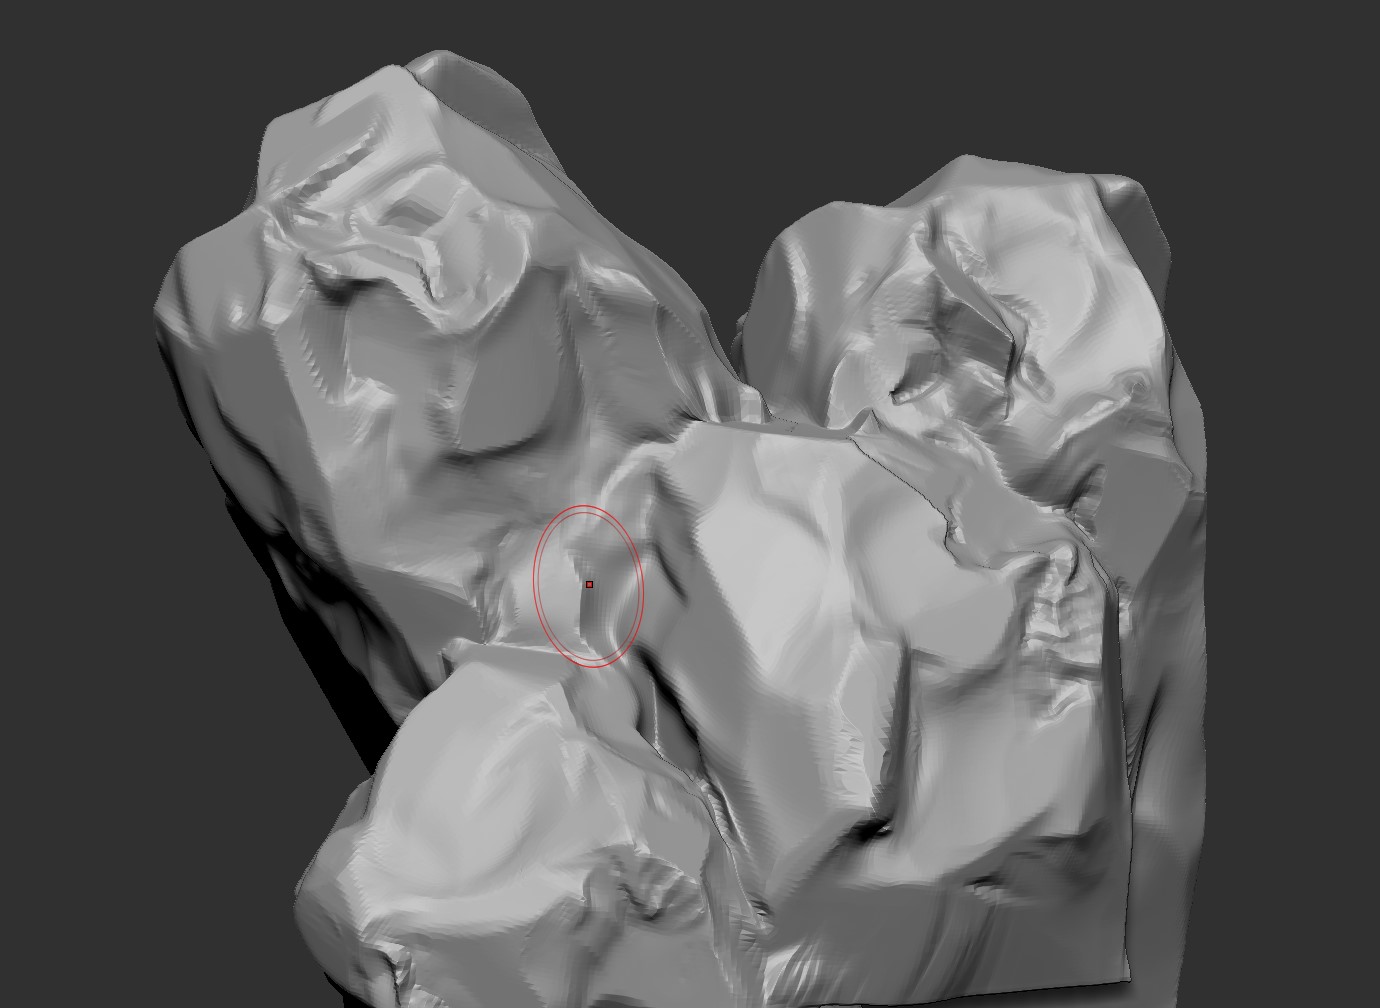
The trimSmoothBorder brush
Another hidden gem is the 'slash2' brush, which is perfect for carving out the basic shape of hair, fur or feathers very quickly as it has a nice hard slice to it.

The slash2 brush
But if you’re overwhelmed with the number of brushes, why not research two or three instead of trying to learn them all? Choose the brushes you’re using regularly and explore what each parameter does. Options in brushes can change their behaviour. For example, editing the curves with the flat brush can help flatten a general surface without flattening the high frequency details.
4. Polygroups can help organize your mesh
Polygroups are a great way to organize your SubTools so that you can have an easier time sculpting. They are essentially a selection set of geometry faces, allowing you to isolate that set from others. They can be used to help add control over physically separate pieces of geometry or make it easier to manage sections of one continuous piece. This can also be used in tandem with ZRemesher to create a more reasonable base geo by turning on groups.
5. Gain flexibility and control with layers
If testing out a new alpha or surface detail, why not try to use layers? Layers, while active, remember what you’ve sculpted, giving you the ability to increase or decrease the strength of what you’ve put down on your model. It can be a great tool when stamping down skin pore alphas only to discover when you look at the bigger picture that those pores are deeper than you expected.
They also can be used as a tool for creating blend shapes on objects. With the slider it's easy to visualize how a blend shape will move once activated. ZBrush even has a plugin for exporting layers as blend shapes to Maya.
6. ZModeler is a welcome addition to ZBrush
A few years ago, Pixologic introduced a new brush called ZModeler. This tool has given ZBrush the capability of polygonal vertex modelling, a feature it was sorely missing. Adjusting a base mesh, or cleaning up topology, was a step that required exporting your geo to Maya or 3ds Max to fix your problems, then send it back to ZBrush to continue sculpting.
With ZModeler, ZBrush is now capable of a vast array of functions like stitching vertices together or extruding faces. It's also a handy tool for organising polygroups or adding thickness to your geometry. It's a modeling application within itself, and definitely worth spending time exploring the ins and outs of.
To get started with it, select the ZModeller as your brush and hover your mouse over a vertex, face, or edge. Text will come up for whatever the default command is for that component of the geometry. Click space and a menu will come up with a selection of different commands you can apply onto that component. Start exploring!
7. Using Morph Targets
Morph Targets are a great way of switching between different versions of a geometry. When sculpting a certain area, if you have a Morph Target saved you have a safety net that allows you to reduce it back if you go too far. Another interesting way of using it is to retain volume that's lost while smoothing an object. This is particularly useful for blocking out thin areas like fingers on a hand. If you begin smoothing the fingers, they’ll get skinnier and skinnier with each Subdivision level, as ZBrush will try to average out all the polygons. But with the Morph Target saved to the previous state, you can smooth it and then switch to the version with the original volume, while still maintaining the new smoothness.
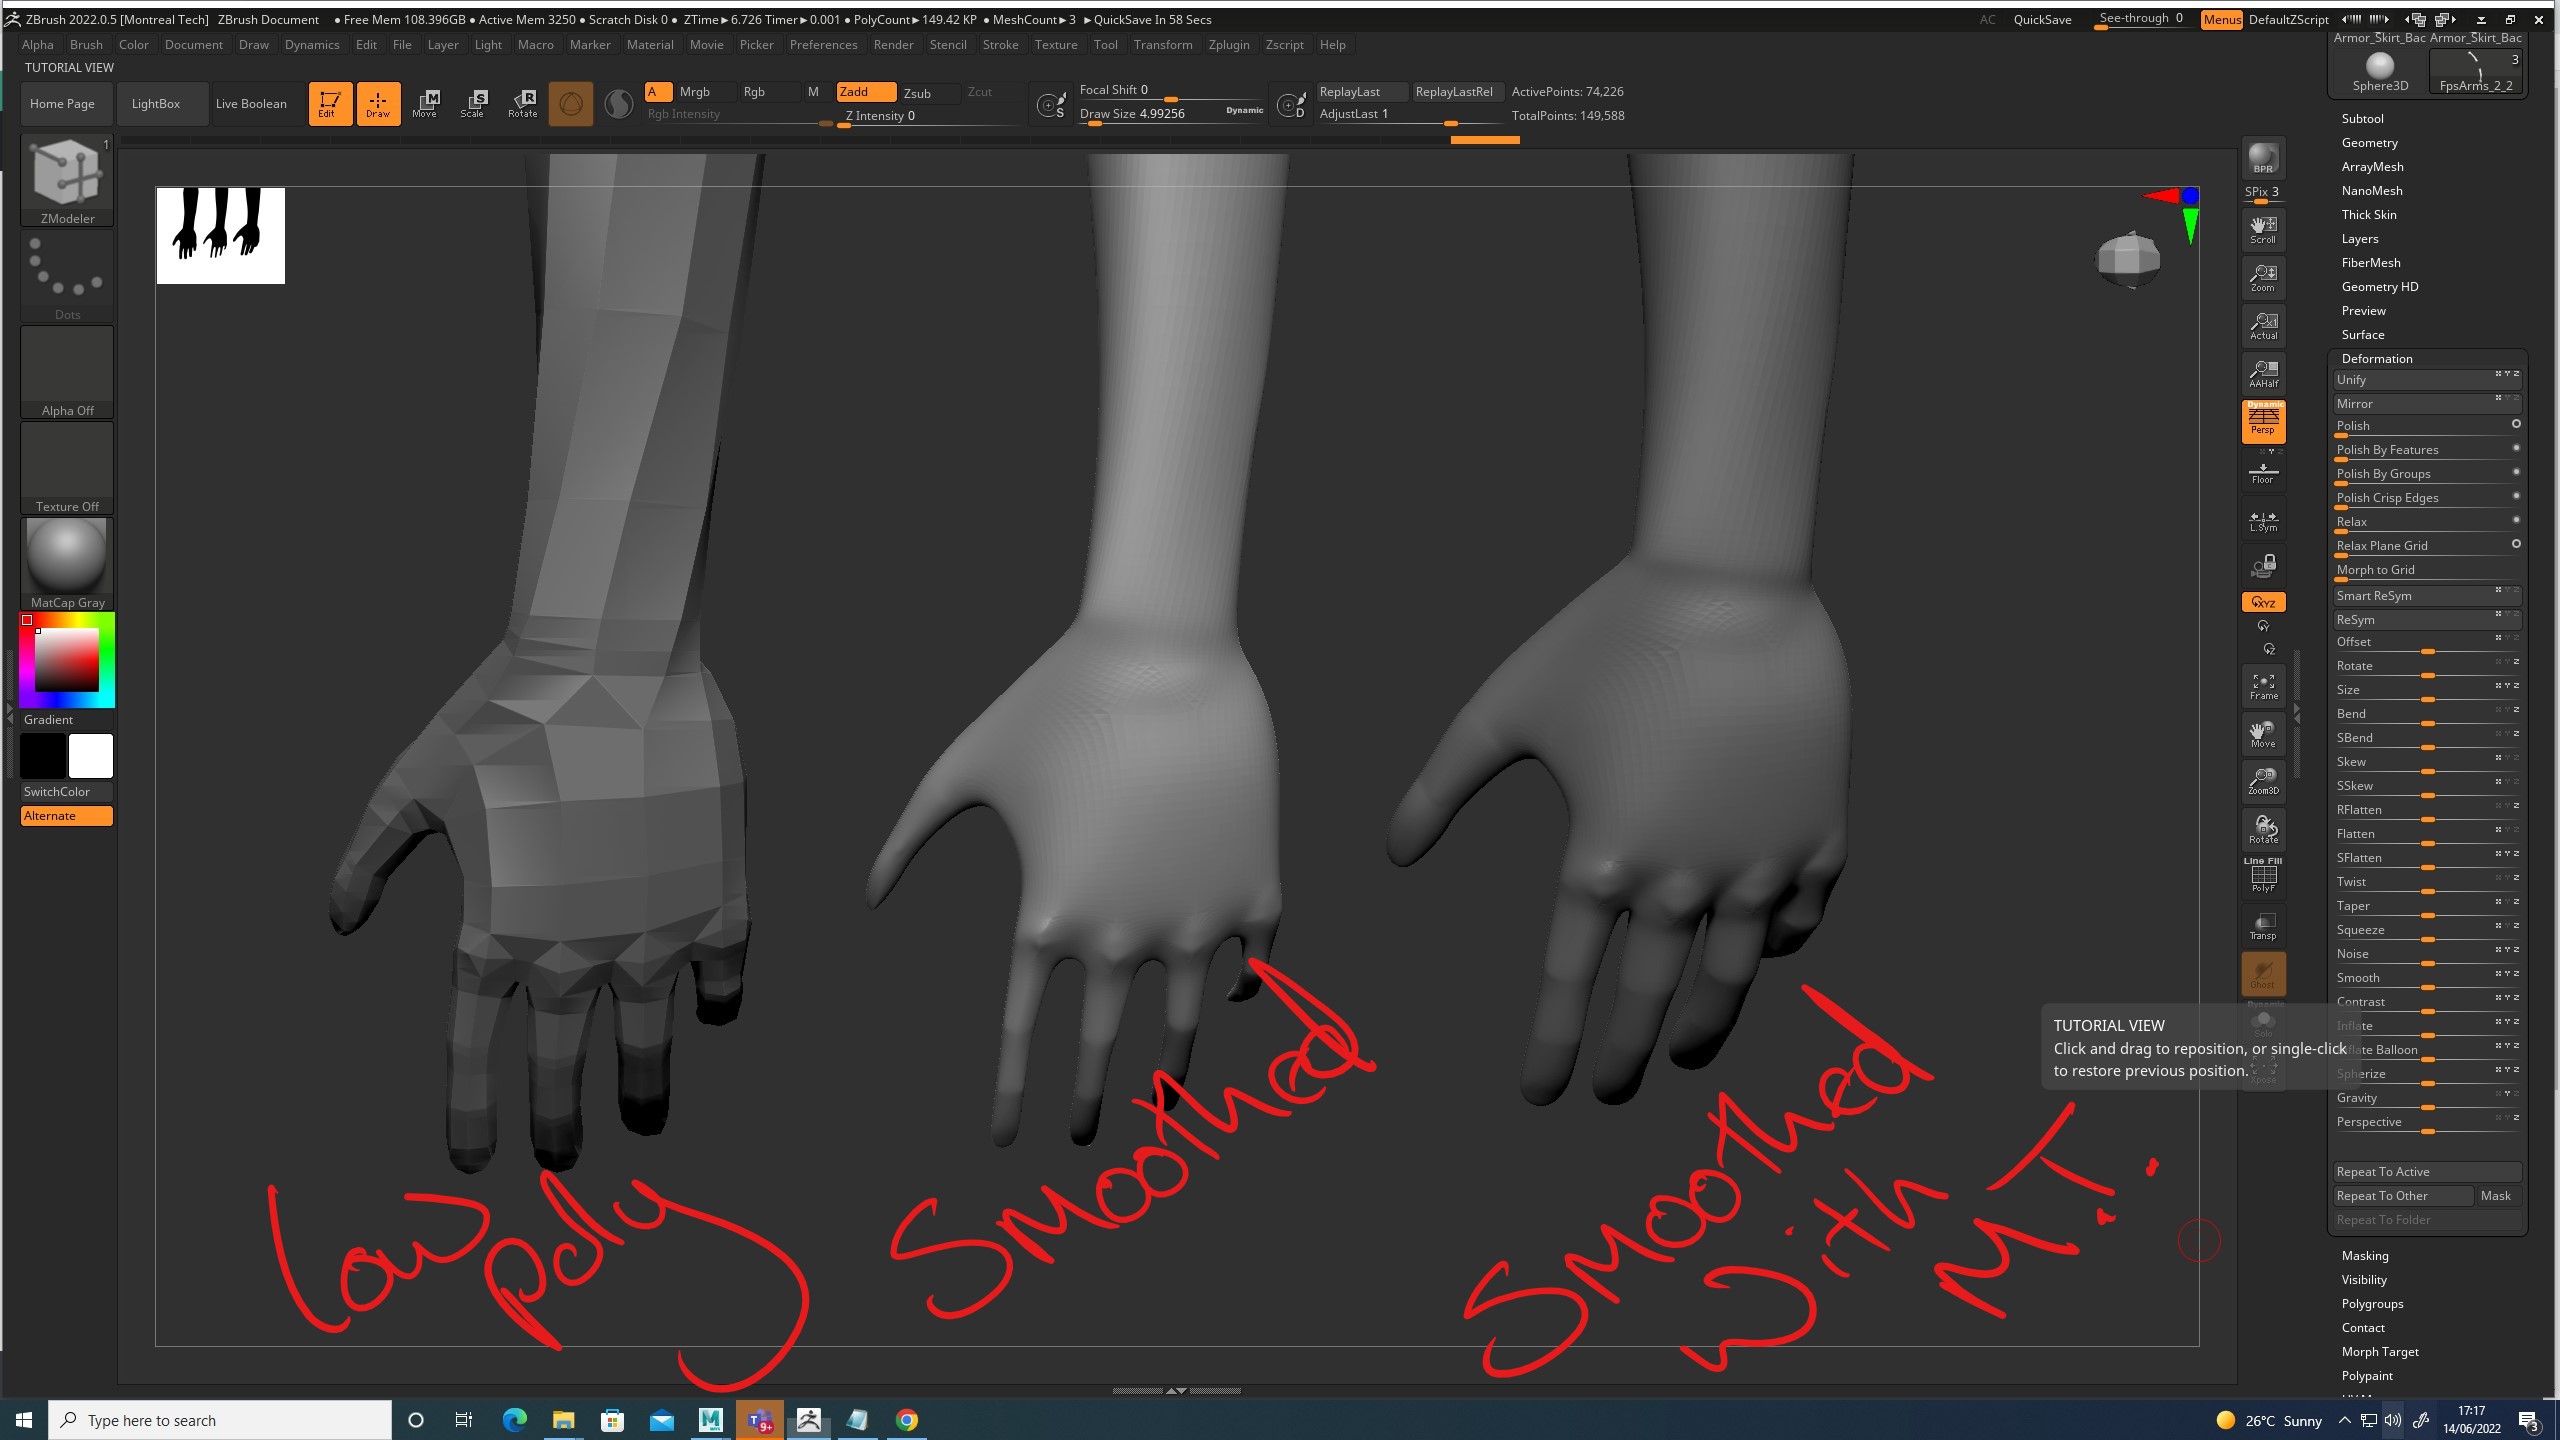
Morph Targets is perfect when creating thin areas
8. Smooth things over with LazyMouse
Found within the stroke palette, the LazyMouse is the tool to help smooth out any shaky lines you might create. This tool will read the path that your cursor is drawing and average it out based on the settings you’ve chosen before applying the brush to the model. This can be incredibly helpful for mechanically cut pieces or stylized designs.
9. Create a ‘digital clay experience’ with DynaMesh
When at the concept stage, you don’t want to be wasting time worrying about topology and edge flow. DynaMesh will rebuild your geo based on a 3D grid resolution. This, paired with the high polycount that ZBrush is capable of handling, and you get something like a ‘digital clay experience’. You can stretch, pull, and even insert other pieces of geo, then reapply the DynaMesh feature and have it all blend together. Increase the resolution for even finer details, or if you feel like the shape is working and want to test sharper details without 100% committing, then add a subdivision level or two. When you think the model is good, break it up with polygroups and ensure your group edges are smooth. Then ZRemesh it with groups turned on and you can get a good starting point for building a base mesh.
DynaMesh is also particularly useful when working with lines. You can create thickness of lines and turn it into solid tubes for a railing. If you use DynaMesh, the tubes will automatically blend so connections will look natural.
10. Masking is an important skill
An important step for sculpting is masking. By clicking CTRL and dragging in the viewport we can create a mask on our geometry, but by default this starts as a rectangle shape. If we click CTRL and then explore the brush options we have, you can find more masking tools available like the mask lasso.
For more advanced masking tools you can open the Masking menu within the tool pallet. In here are many tools to help create more difficult masks, like masking by ambient occlusion or smoothness.
Masks can be used for sculpting, creating polygroups, and even creating new geo on your mesh, so having a good understanding of what you are capable of masking is an important skill for your sculpts.
11. Improve your thin meshes with BackfaceMask
When working on meshes that are really thin, always turn on BackfaceMask in the Alpha dropdown menu. This will stop the side of the object you’re not working on from being affected by your brush strokes. It’s perfect for preserving the details on any thin-edged models you’re working on.
12. Modelling with an image
ZBrush is a very powerful modeler which has the unique ability to be used not only for sculpting but also for concept design, clean-up model decimation and many other things that exceed its original purpose to be used as an organic modelling tool.
The tool also understands 16-bit and 32-bit images, which means topographic and photogrammetry data can be used to create custom brushes, and it can also create models from images and vice versa.
Its unique ability to handle millions of polygons allow modelling with images and gradients and means you can apply filters to photos to approach and block out shapes.
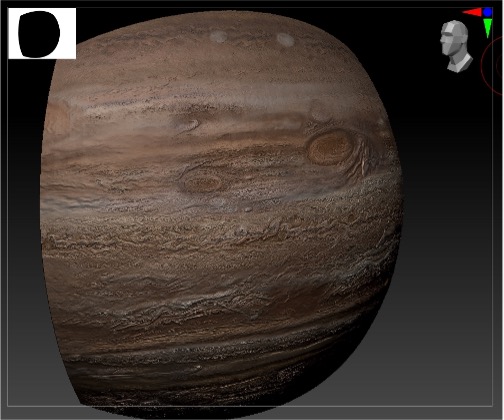
13. Displacement modelling
Black and white are used for displacement in ZBrush, as in any other 3D software, but it can also handle ‘clay’ surfaces more than traditional meshes. ZBrush can take advantage of this in a way that can be converted into a displacement modeler using fractals or images (height maps). By using displacement, ZBrush is great for creating planets or raised detail.
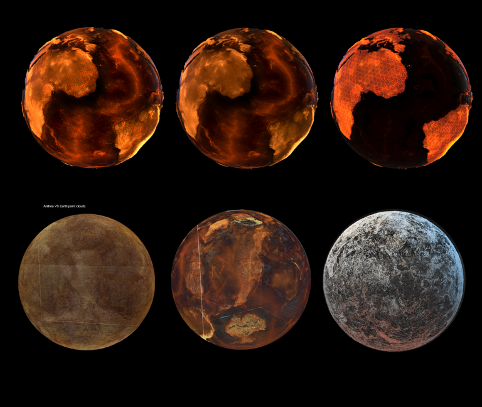
An example of displacement on planets
And on raised details
14. Enhance your environments with custom brushes
If you’re working with large environments in a program like GAEA, you can work in tandem with ZBrush to create custom brushes that quickly detail terrain.
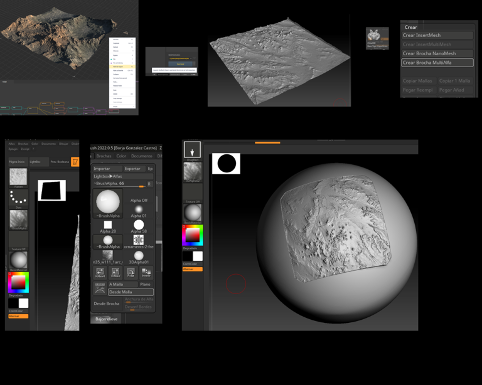
Use ZBrush with GAEA to improve terrain
In this example, some craters created with GAEA were exported as meshes and transformed into a 3D brush to paint and place them by hand, then exported as a Zdepth map back to GAEA in order to create a new erosion.
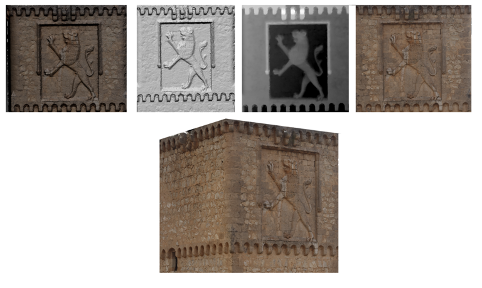
15. Projection tools for texturing and modelling
There are many ways to project in ZBrush. One method that can be used to handle different levels of detail is Polypaint. By baking your texture and detail in Polypaint you can transform a Latlong equirectangular projection into a six faces cube spherized.
Handle detail with Polypaint
ZBrush also has the ability to import cameras. That means you can project a texture on top of a real model, just like with the 3D texture painting tool Mari, but with the ability to translate this into real displacement that can be used as a guide for modelling.
16. Trouble with mesh exports?
Often at Outpost, we’ll use a huge number of polygons to create detail needed for our shows, like a planet very close to the camera, or large terrain. In those cases, we can experiment with the problems associated with mesh exports.
There are a few potential causes. For example: adding polys massively increases the file size, formats have a polygon limit, OBJS can cause problems, and even if we get enough polygons there is a limit exporting textures. If you’re experiencing any of these, you might want either to decimate the mesh or reproject it.
17. Create destruction with NoiseMaker
NoiseMaker is a great example of displacement modelling in ZBrush. You can access NoiseMaker in the top bar menu. But, to edit the noise and apply it to the surface, go to ‘Surface>NoiseMaker>Apply’!
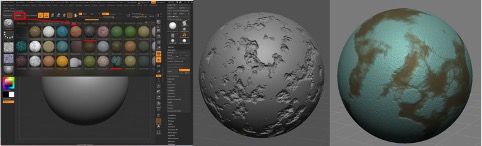
NoiseMaker on a planet surface
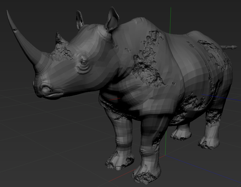
Or to quickly add destruction
Take a look at the use of simple noise on planets, and to create destruction on the rhino model above.